
From Seedling to Harvest
From the first sprout to the first harvest, growing fresh greens can feel simple and natural.
Growing Process
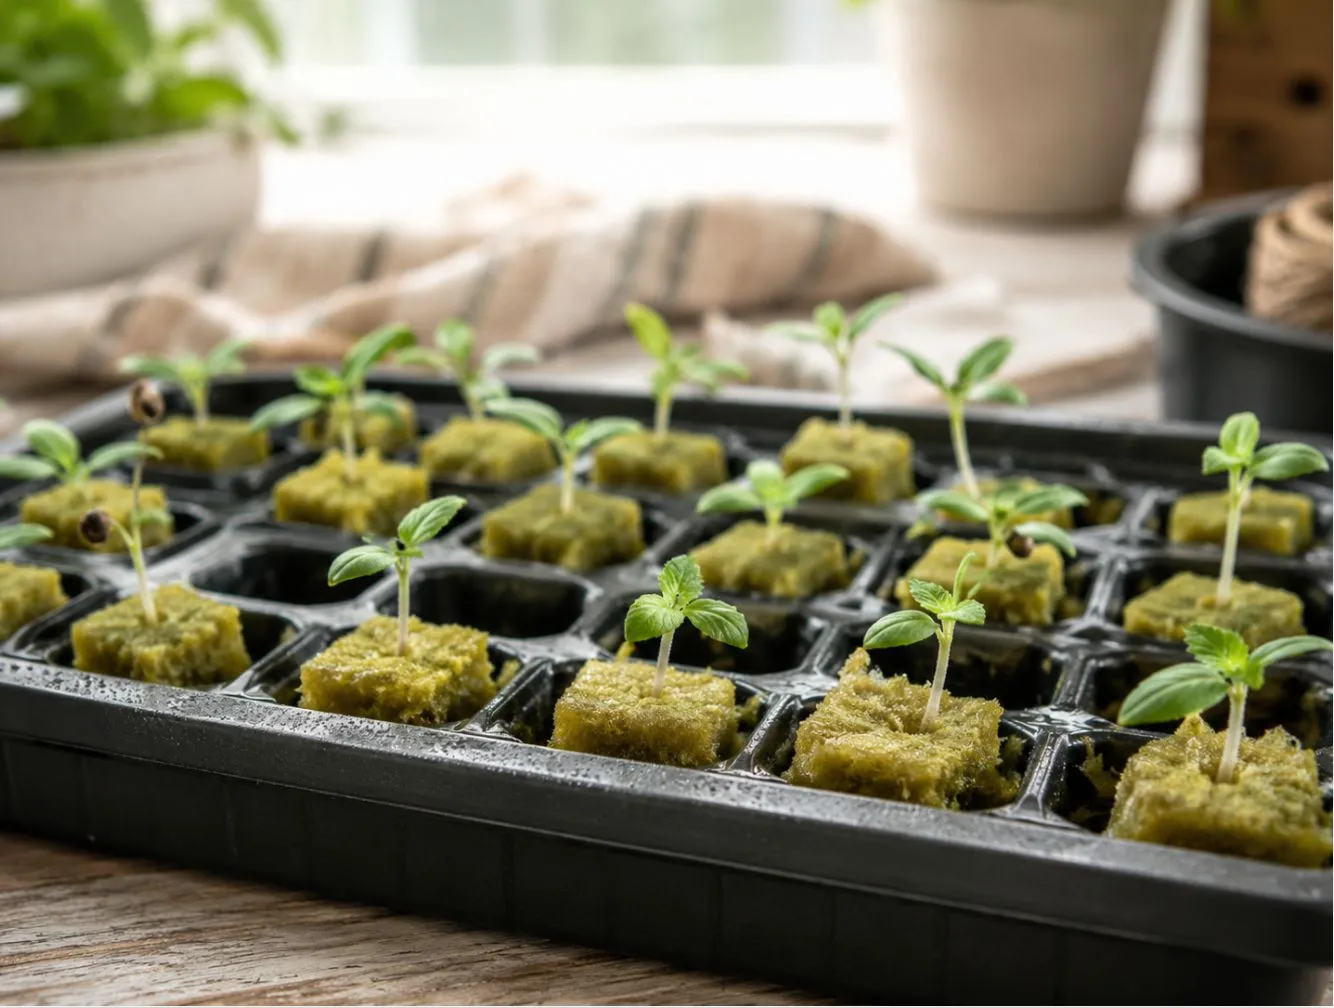
Germinate
Start with Healthy Seedlings
Seeds are first germinated until young seedlings develop healthy roots and early leaves.
Transplant & Grow
Move Seedlings into the Tower
Once the seedlings are strong enough, they are placed into net cups and inserted into the tower planting pockets. This is when the growing journey truly begins — each plant gets its own place in the vertical system.
Harvest
Harvest Fresh Greens When You Need Them
When the plants are ready, harvest outer leaves or trim herbs as needed. Fresh lettuce, basil, mint, kale, and herbs can be picked directly from the tower and brought straight into everyday meals.
Growing Made Effortless: Your Daily Routine, Simplified
You don’t need a green thumb to grow a thriving garden. We designed The Tower to handle the complex biology of hydroponics for you, turning a highly technical process into a simple, deeply rewarding daily routine.
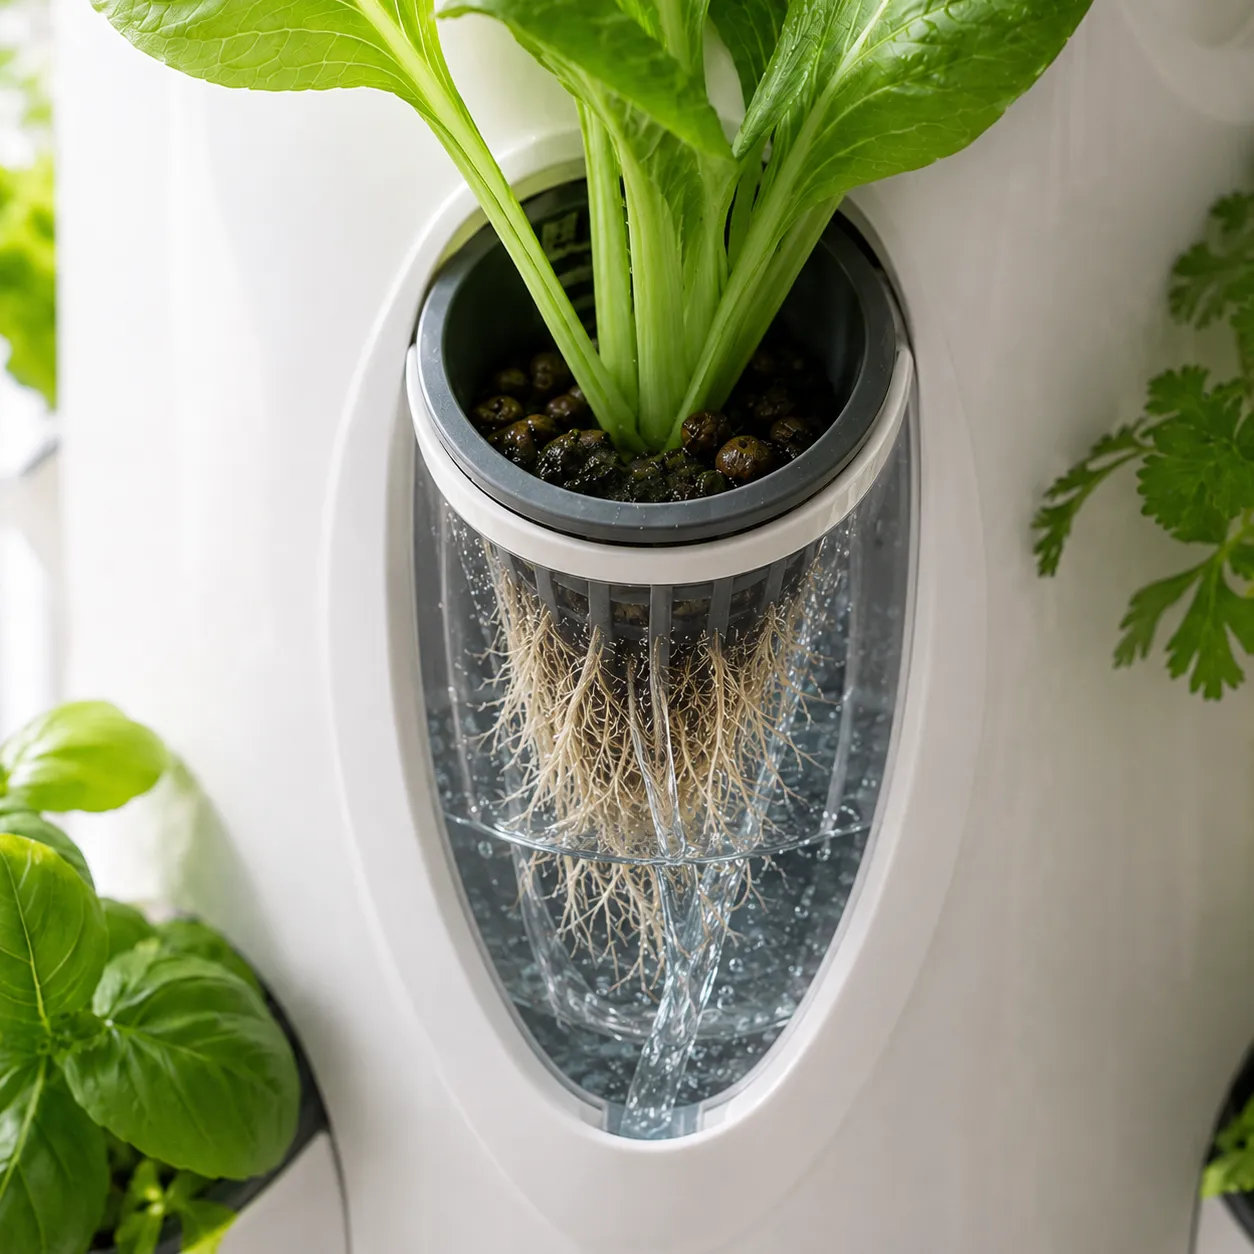
Self-Watering System
A pump recirculates nutrient solution from the reservoir through the tower. Check the water level, pump operation, and flow at each level regularly; recirculation does not replace crop care.
The recirculating design reuses solution within the system. Refill frequency and water use vary with crop size, weather, lighting, and maintenance. Confirm usable reservoir volume and pump specifications for the selected model.
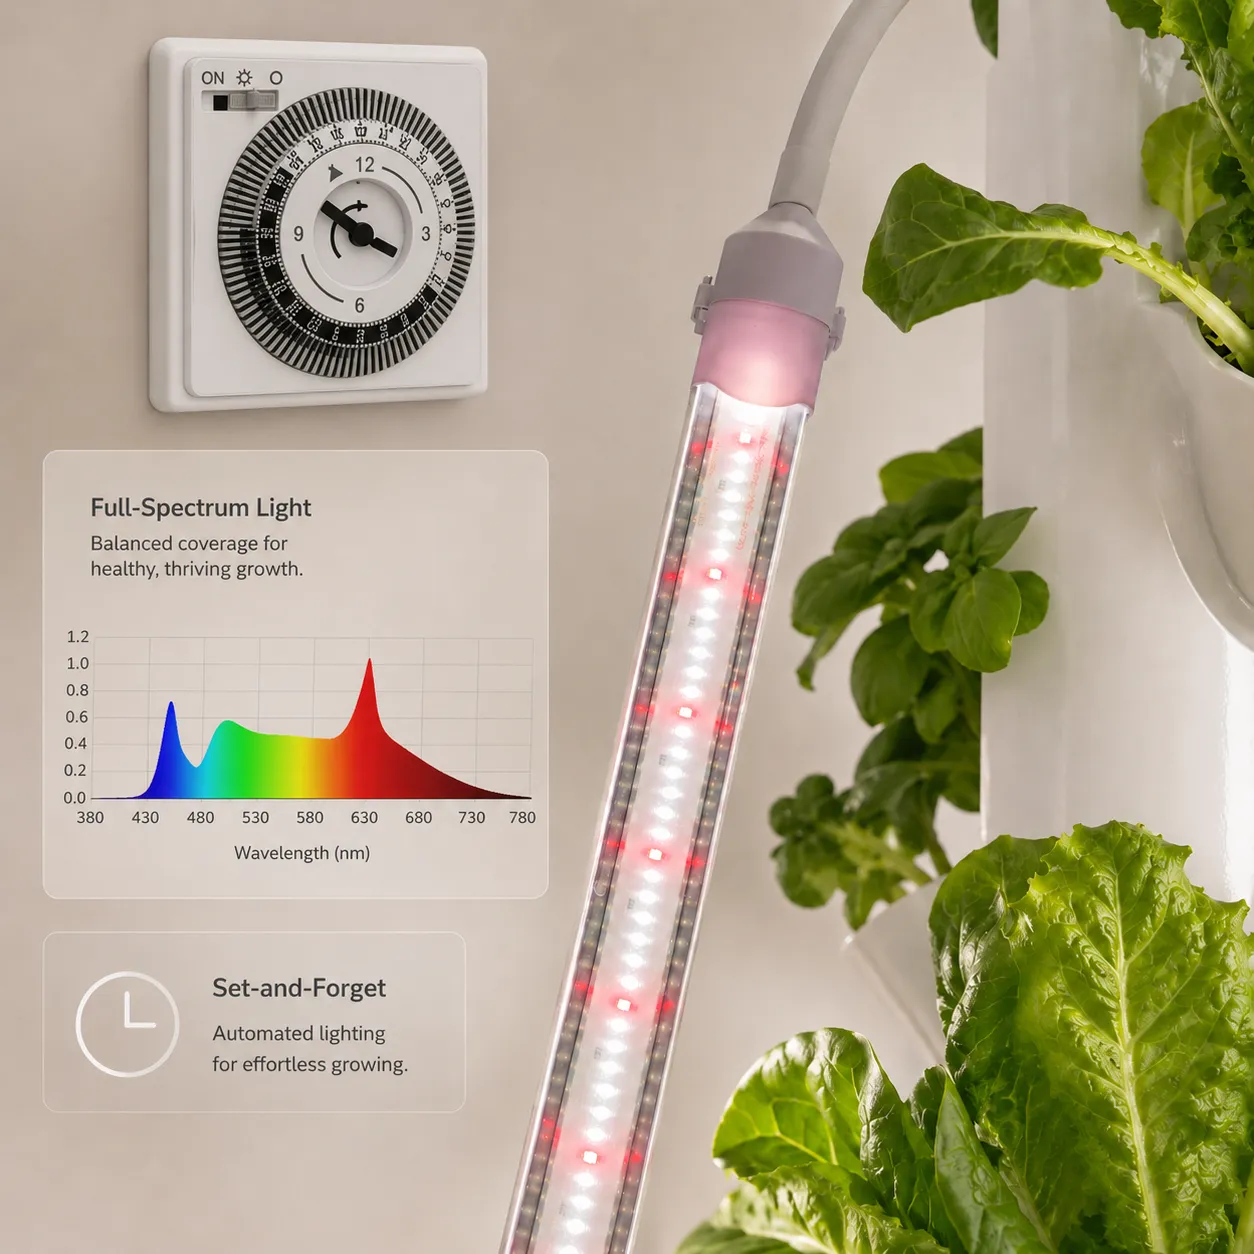
Scheduled Grow Lighting
Indoor growing may require supplemental lighting. Confirm whether lights and a timer are included, and request the fixture power, spectrum, recommended coverage, and installation instructions for the quoted kit.
Where a timer is supplied, it can maintain a selected daily light schedule. Adjust the schedule and fixture position for the crop, growth stage, and ambient light, and inspect plants regularly.
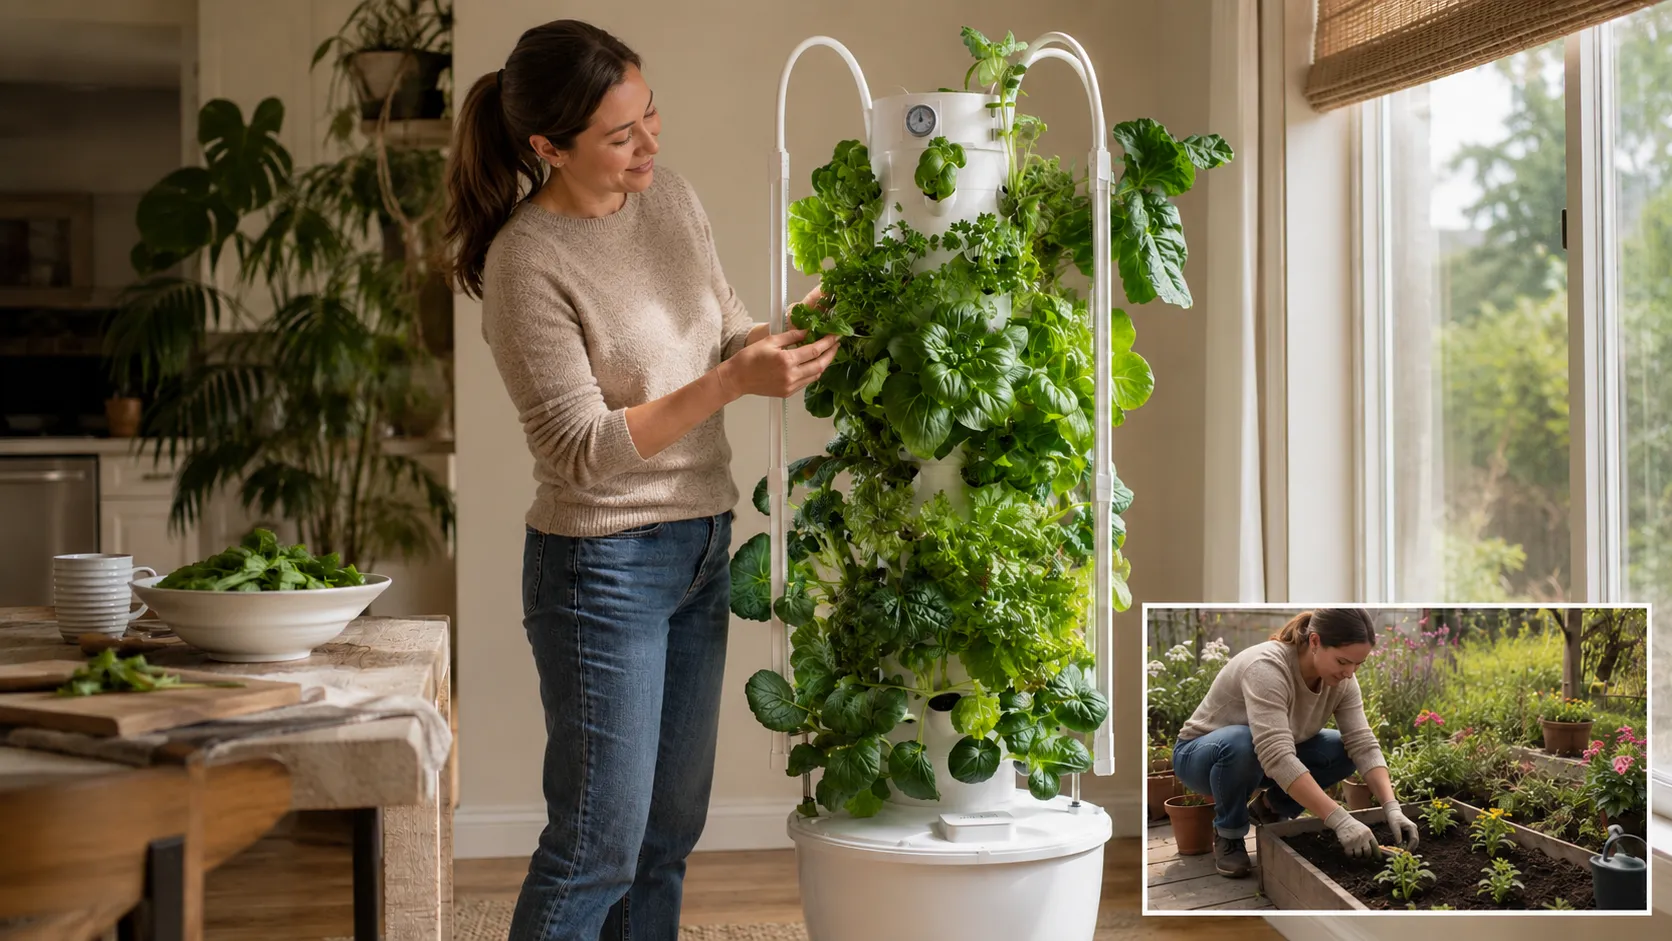
Ergonomic Design & Fresh Greens
Vertical planting can reduce soil preparation and make some crops easier to inspect. Check the upper planting height, access around the tower, and safe reach for watering checks, pruning, and harvesting.
Choose a stable location with suitable light, temperature, drainage precautions, and electrical access. Harvest timing depends on the crop and growing conditions.
The Journey to Harvest: Watch Your Garden Come Alive
The stages below illustrate one possible leafy-green growing cycle after transplanting. They are not a promised schedule: crop variety, seedling age, light, temperature, and management affect development and harvest timing.
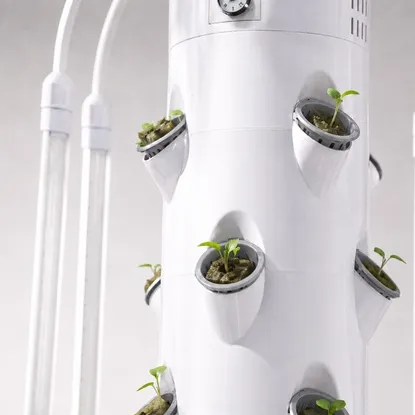
Days 1–3: Settling In
After transplanting, inspect seedling support, root contact with the flow, and pump operation. Monitor wilting or discoloration rather than assuming every plant will establish at the same rate.
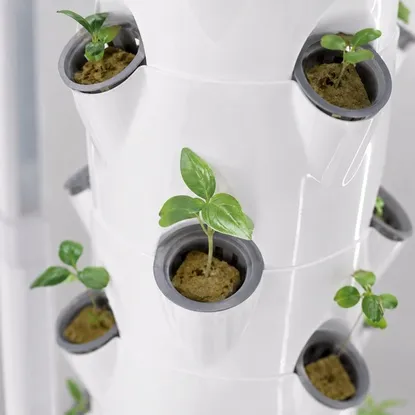
Weeks 1–2: Finding Footing
Look for healthy root development and new leaves. Record water level, EC, pH, and any changes in plant condition, using targets suitable for the crop and nutrient instructions.
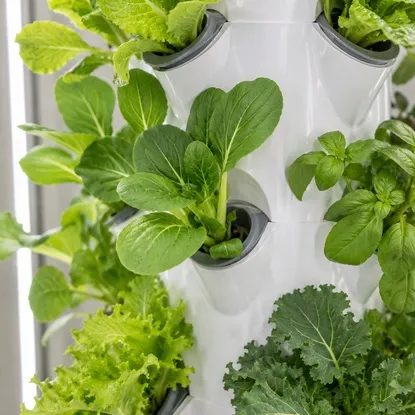
Weeks 2–4: Vegetative Growth
Some leafy crops may develop more foliage during this period. Maintain airflow and adequate spacing, and adjust lighting or nutrition based on measured conditions and crop guidance.
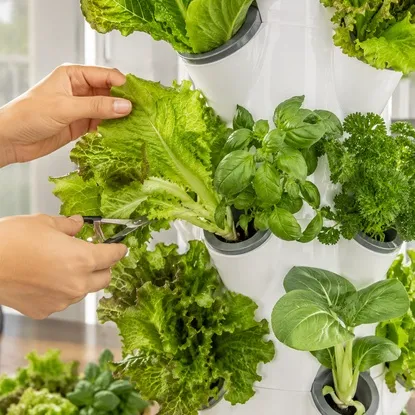
The Harvest Window
It’s time to enjoy the delicious reward. You don't have to harvest everything at once. Simply pluck the mature outer leaves of your lettuce or snip the tops off your herbs right before dinner. This method keeps your Tower looking beautiful and encourages continuous growth.
Setting Up for Success: Your Beginner-Friendly Guide
Use the checks below before and after transplanting. Follow the supplied assembly instructions and monitor the crop as conditions change.
1. Assemble First, Add Water Second
For a smooth setup, make sure your Tower is fully assembled on a flat surface with the wheels locked. Double-check that each layer is securely stacked and the pump, pipes, and cables are comfortably in place before filling the reservoir.
2. Choose & Place Strong Seedlings
Give your garden the best head start by choosing seedlings with healthy roots and a few true leaves. When transplanting, gently place them into the net cups, ensuring the roots can reach the water flow without burying the delicate leaves.
3. The Perfect Plant Food Mix
Fill with water and add nutrients according to the nutrient supplier’s directions. Dilute A and B concentrates separately as instructed. Measure EC and pH after mixing and use targets appropriate to the crop, growth stage, and water source.
4. Less is More for Young Plants
Use nutrient strength appropriate to young plants. If leaves curl or show stress, check EC, pH, root condition, light, and temperature before changing the solution; symptoms can have several causes.
5. Enjoy the First Week of Magic
During the first week, check water level, leaks, circulation, root condition, and lighting each day. Resolve interrupted flow promptly and record adjustments so that changes can be assessed.
Ready to Start Your Effortless Garden?
You’ve seen how simple and rewarding hydroponic growing can be. Bring The Tower into your home today and enjoy farm-fresh, zero-mile greens all year round.